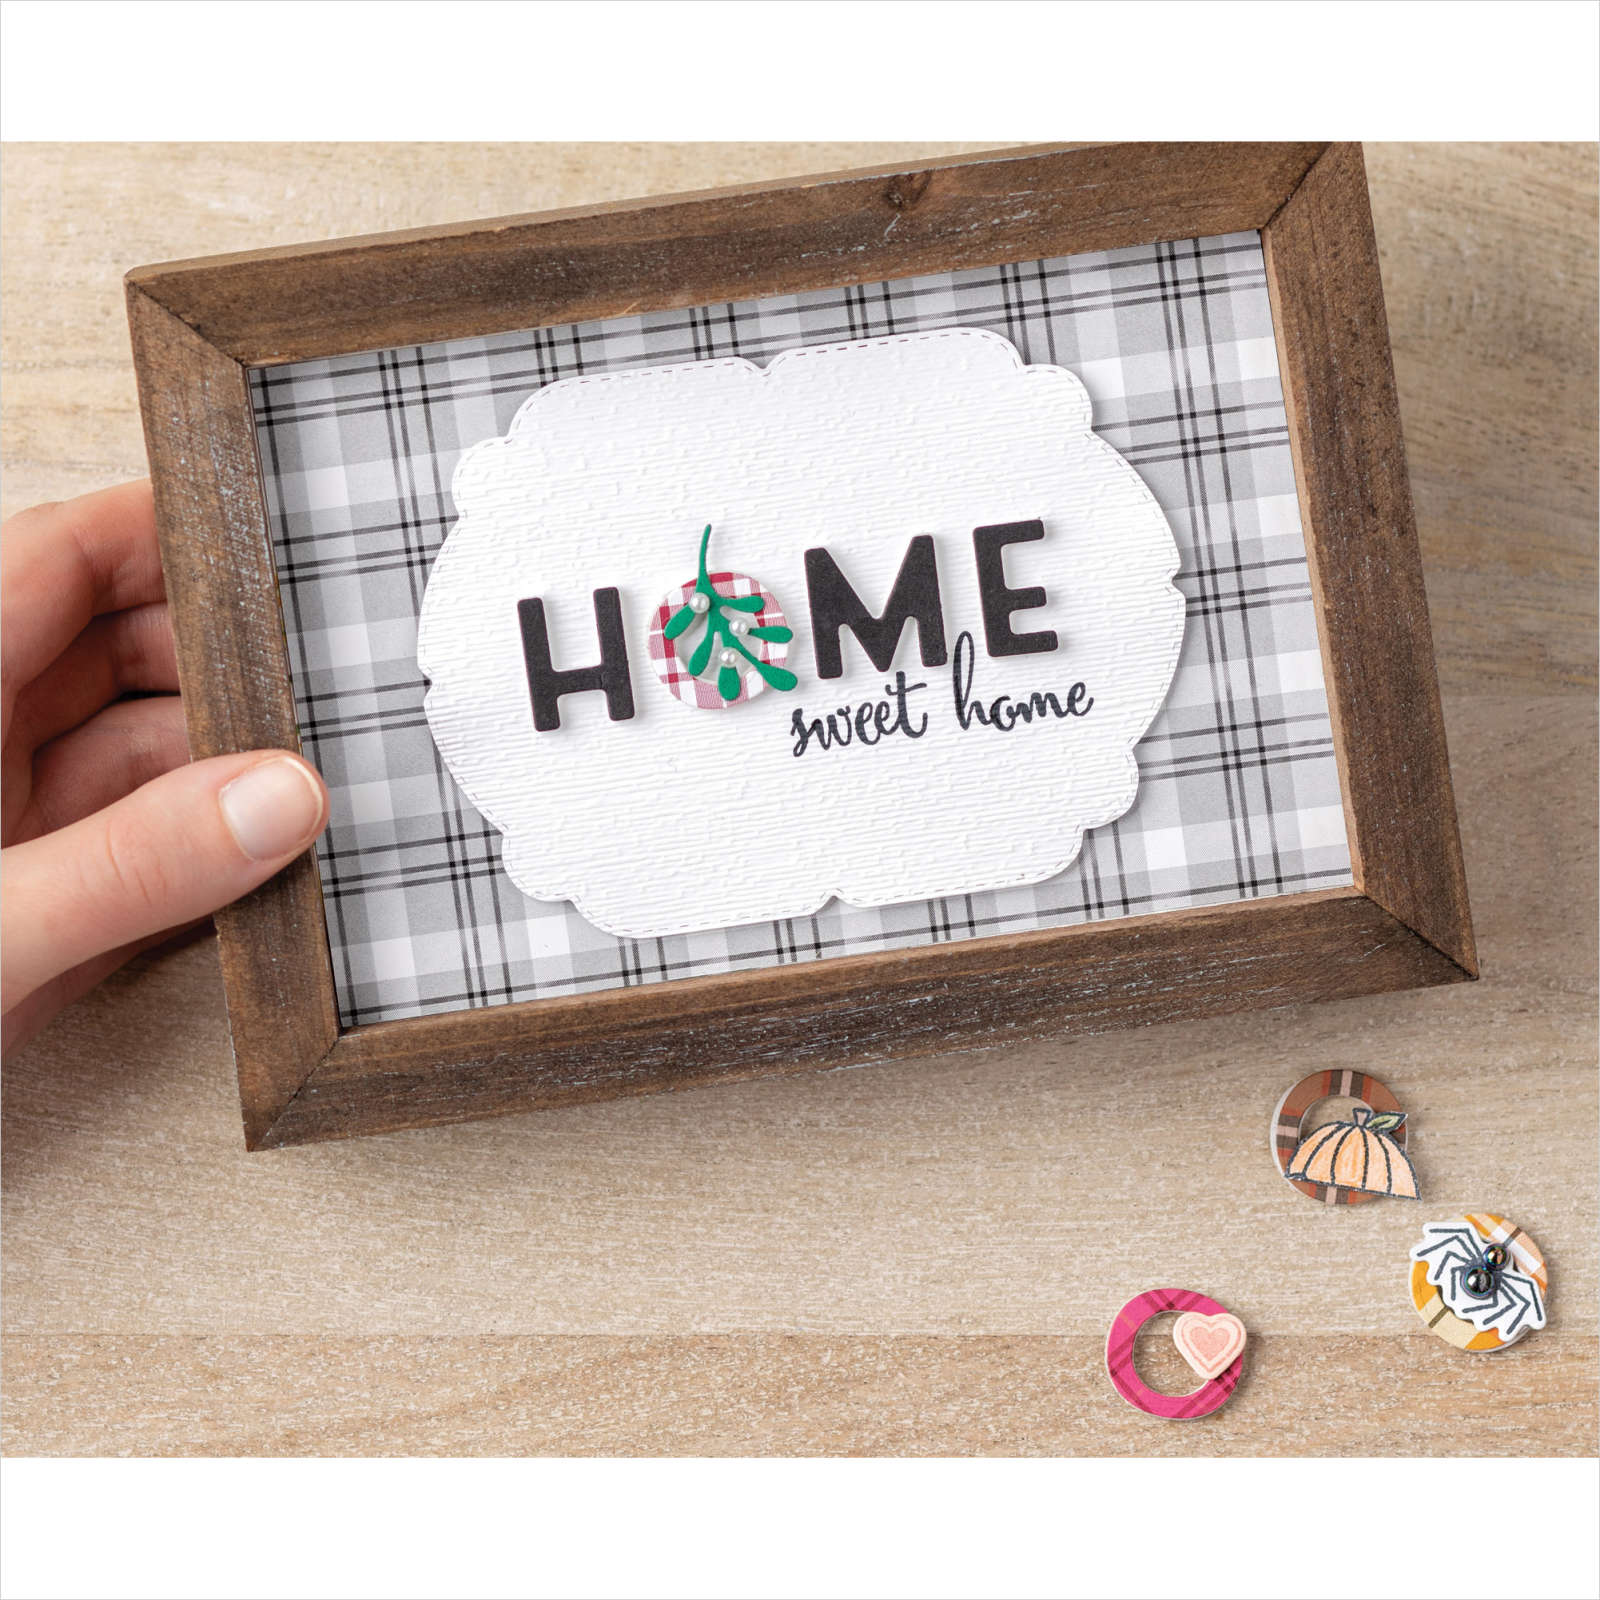
INSTRUCTIONS: 1) Remove all the backing pieces from inside the frame. Leave the glass in the frame. Leave the mat if you selected a larger frame with a 4" x 6" mat.
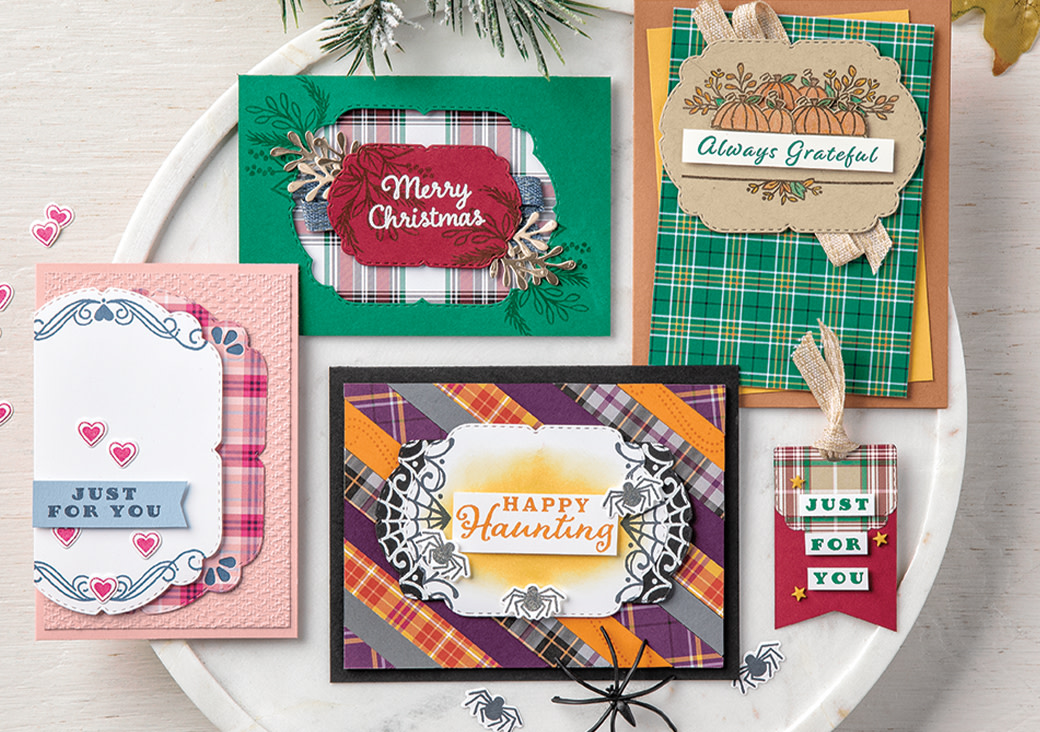
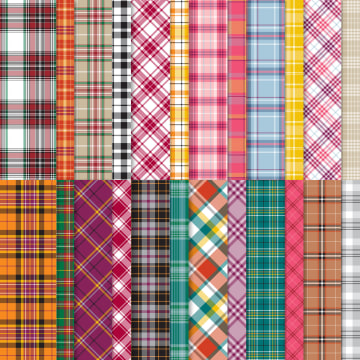
2) Place a 4" x 6" piece of Plaid Tidings Designer Series Paper into the frame behind the glass and add the backing pieces back into the frame and secure it in place with the frame tabs or clips. The 4" x 6" Plaid Tidings paper can be left for all the seasons or change out with new patterns for each season.
3) Cut Basic Black cardstock to 3" x 1". Use Paper Snips to cut a piece of Foam Adhesive Sheet to 3" x 1". Remove one side of the backing from the Foam Adhesive Sheet and adhere it o the Basic Black cardstock.
4) Use the Playful Alphabet Dies to die cut the letters "H", "M", and "E" from Basic Black cardstock with Foam Adhesive Sheet attached. Do not remove the second backing layer.
5) Repeat steps with 4" x 1" Whisper White cardstock and 4" x 1" Foam Adhesive Sheet. Die cut 4 of the letter "O". There are two letter "O's" in the set so you can run two at at time.
6) Die cut four more letter "O" pieces from four different patterns of the Plaid Tidings Designer Series Paper. Select plaid patterns that coordinate with each of the Halloween, Autumn, Christmas, and Valentine's Day themes. These "O's" will be paper only, no Foam Adhesive Sheet.
7) Remove the backing from the Foam Adhesive Sheet on the "O" die cuts. Carefully line up a plaid "O" die cut without the Foam Adhesive to one with the Foam Adhesive.
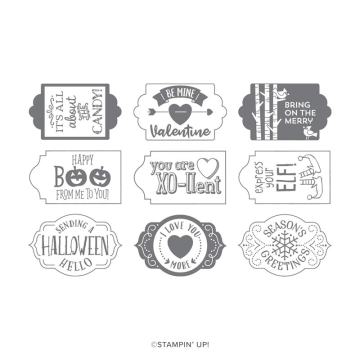
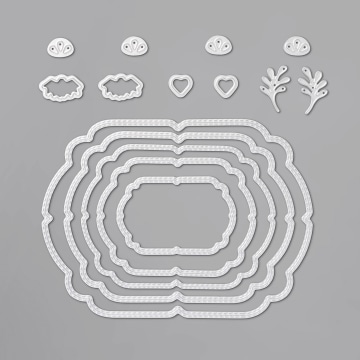
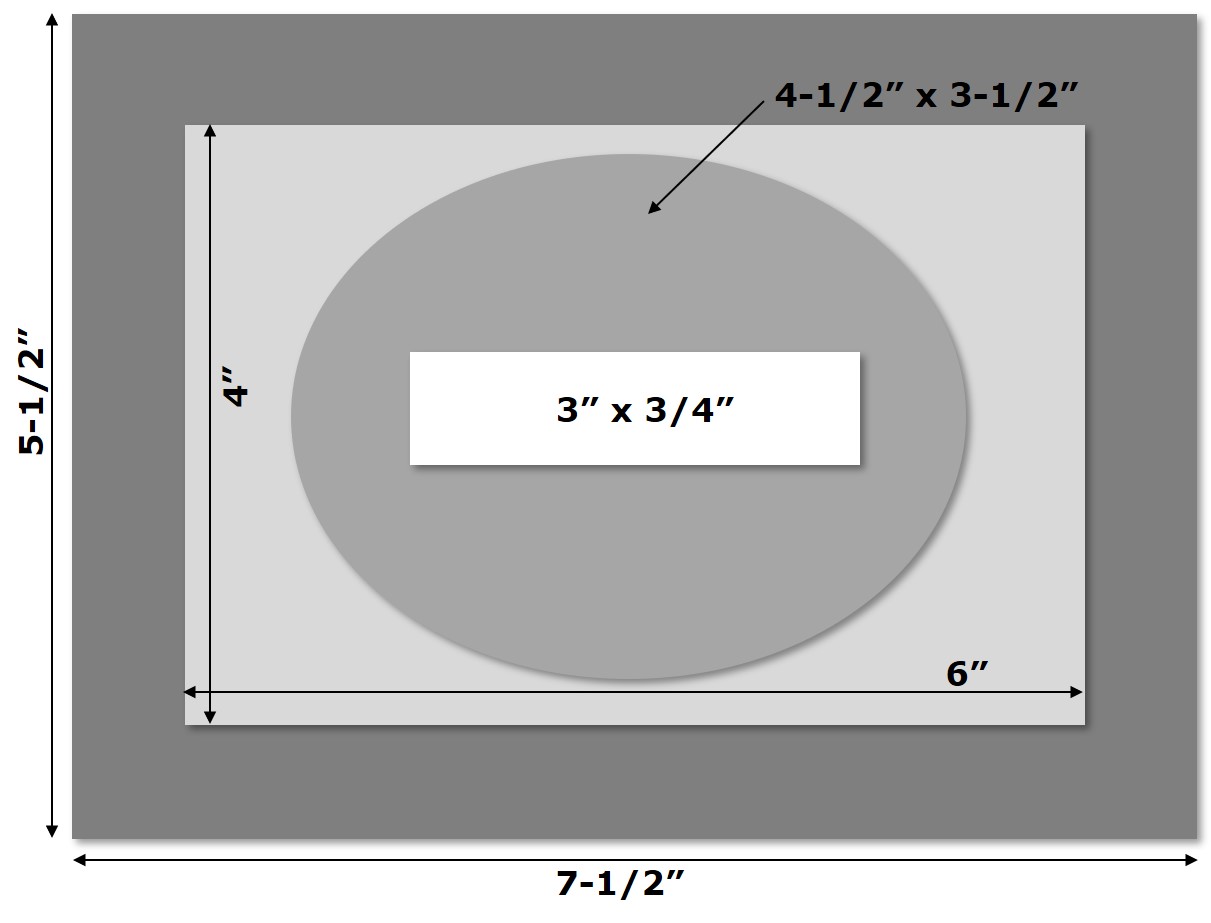
8) Die cut Whisper White cardstock with the Celebrations Labels Die that is about 4-1/2" x 3-1/2".
9) Center the letters spelling "HOME" on the die cut label without adhering them in place. They are just there as a place holder for now.
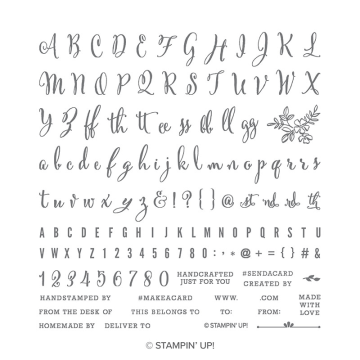
10) Carefully stamp "sweet home" under the die cut "HOME" using the individual lower case alphabet stamps from the Make a Difference stamp set with Jet Black StazOn ink. Practice on scrap paper first to get a feel for lining up the letters how you like. Remove the "HOME" letters and set aside.
11) Emboss the die cut label with the Subtle 3D Embossing Folder.
12) Line up the "HOME" letters on the label so they are centered where you want them again. One at a time, remove the backing from Foam Adhesive on the back of the "H", "M", and "E" and adhere them in place. Do not adhere the "O", it's just there as a place holder for now.
13) Use Stampin' Dimensionals to adhere the die cut label centered on the glass in the frame.
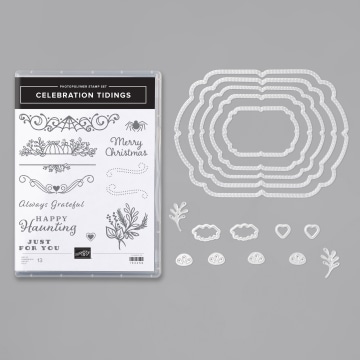
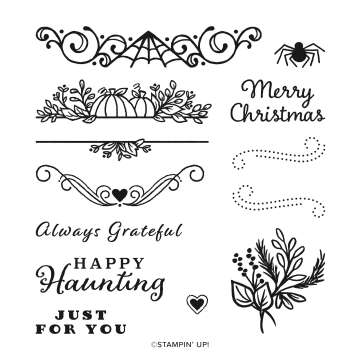
14) Stamp the spider and pumpkin images from the Celebrations Tidings stamp set on Whisper White cardstock with Jet Black StazOn ink.
15) Die cut the spider with the coordinating die from the Celebrations Labels Dies.
16) Add self-adhesive Iridescent Pearls to the spider body and head. Add to the coordinating "O" with Glue Dots.
17) Color the larger pumpkin with Watercolor Pencils. Then cut it out using Paper Snips. Add to the coordinating "O" with Glue Dots.
18) Stamp the heart from the Celebrations Tidings stamp set on Petal Pink cardstock with Flirty Flamingo ink. Die cut with coordinating die. Adhere to coordinating "O" with Glue Dots.
19) Die cut small branch from the Celebration Labels Dies from Shaded Spruce cardstock. Adhere to coordinating "O" with Multipurpose Liquid Glue. Add Basic Pearl Jewels.
20) To make the seasonal "O" images interchangeable you'll need mini magnets or small hook and loop dots/strips. Adhere magnets or hook and loop to the back of one "O" at the left and right edges so they don't show. Use the placement of these to guide where you place the corresponding magnet or hook and loop pieces on the frame label.
21) Remove the first "O" and place the corresponding magnet or hook and loop piece on their mate on the frame. Then adhere the "O" onto them. Repeat for each "O".
SUPPLIES: STAMPS
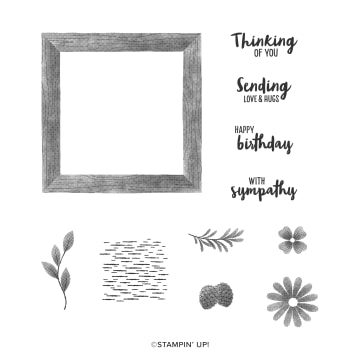
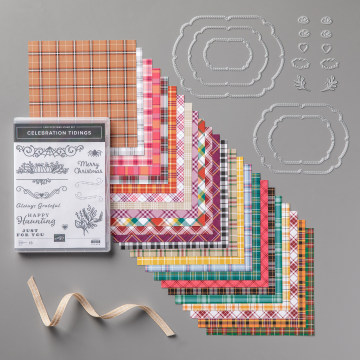
Celebration Tidings stamp set (#153456)
Make A Difference stamp set (#146676)
PAPER
Whisper White (#100730), Basic Black (#121045), Shaded Spruce (#146981), Petal Pink (#146985), Plaid Tidings 6" X 6" (15.2 X 15.2 Cm) Designer Series Paper (#153527) INK
Jet Black StazOn (#101406), Flirty Flamingo ink pad (#147052), Watercolor Pencils (#141709), Watercolor Pencils Assortment 2 (#149014) TOOLS
Celebration Labels Dies (#153570), Subtle 3D Embossing Folder (#151775), Playful Alphabet Dies (#152706) EMBELLISHMENTS
Basic Pearl Jewels (#144219), Iridescent Pearls (#153549) ADHESIVES
Stampin' Seal (#152813), Foam Adhesive Sheets (#152815), Mini Glue Dots (#103683), Stampin' Dimensonals (#104430), Multipurpose Liquid Glue (#110755)
OTHER
4" x 6" picture frame or larger with a mat to 4" x 6", small strong magnets or hook and loop dots
TIPS: Grab some scrap paper and practice stamping the script words that use the individual Make a Difference alphabet stamps. Or use the Stamparatus for more precise placement. |  For 24 Hours only, save 15% on select cling and photopolymer stamp sets. Seasonal, backgrounds, sweet, sassy - with over 60 sets included in the sale you know some of your must-haves are on the list.
Don't wait, don't delay, and don't miss out on the biggest stamp sale that only happens once a year. Order online September 23rd or contact me now to take advantage of this stamp-tacular sale!
DOWNLOAD FLYER or CLICK ON AN IMAGE BELOW AND SHOP ONLINE SEPT 23rd! Please note, this sales is only available for a limited-time on September 23rd from 12:00 AM to 11:59 PM (Mountain Time) online.
Let's Ink Together, Anne




 [/cjcrafty_conditional]